Sewing

Friday, August 31, 2012

Favorite Thing Friday- Friday Night Football

I have always loved the Friday night festivities of a high school football game. Through junior high and senior high school I was a cheerleader. This meant I was there for every game jumping around and cheering for my team. I also wanted to be in the band and march during the half-time show, but my father thought that would be too many activities for me ( I already took weekly piano lessons and did countless other activities). I wonder why he thought I was too busy?

Now notice I did not say that I love watching the game. I do enjoy a good game, but mostly I enjoy watching the "pretty people" as my husband titled them for me after trying to watch college football games with me. I do well for about the 1st quarter watching the cheerleaders and pom squad and then start to get antsy. I make it through then 2nd quarter so i can see the band, and if I make it any further that's just gravy. I have just recently realized why I can't sit still during a ball game, because i'm used to be jumping and hopping around!

So with my love of Friday night lights the kiddos have to have some outfits supporting the home team, and here they are.


And these for our friends down the road. Does anyone know how to turn this pic around?

Tuesday, August 28, 2012

Isaac

In South Mississippi, this is what my TV has on it this morning.


Monday, August 27, 2012

Raggy appliqué tips

I've done a few new appliqués for the girls recently, here are some tips I'll share about doing raggy appliqués.

  • Raggy appliqués don't need as many layers of stabilizer because they have so many layers of fabric already. I normally need 3 layers of stabilizer to keep my bobbin thread on the backside, but for raggy appliqués 1 layer is enough.
  • Keep your project hooped while you cut around the design and while you rag cut the edges. The hoop keeps the project pulled taut and makes you less likely to cut a hole where you don't want it.
  • Don't be so matchy-matchy. I usually keep everything just so, but for this I tried using a different color flannel than my top fabric color. I think it adds interest and brings more colors out of the leggings I'm pairing it with. The tutorial on Five Star Fonts that goes with this FREE design I used actually used two different colors of flannel and a cotton print on top. Check out their other free designs HERE. They have lots of cute ones.
  • These designs take very little thread, so this is a great time to use all those almost empty bobbins.
  • You don't have to buy a special design to make a raggy appliqué. Just look for a design you already have that is very simple.
Now a tip for centering any appliqué.

  • As always I used a sticker to mark the center of where my design should be on my shirt before hooping. The best way to find the sweet spot is to start at the base of the shirt sleeve and draw an imaginary line to the center of the shirt, making sure you are lined up with the neck tag.
  • Always measure to ensure your design's actual size with will be centered top-to-bottom also. In this case I actually needed to move my sticker down about an inch. For me this usually isn't necessary.
 

  • Now hoop, and if you don't get the hoop exactly center, no sweat because you are using your sticker to mark center with your needle. Yes, my shirts are changing colors.
 

Remove the sticker before stitching. And let your machine do the work, while you try to keep the rest of the shirt and your fingers out of the way.

On a side note, does anyone else having trouble with their bobbin thread showing on the top? I've tried multiple things and some work some of the time, but nothing seems fail proof.

Here are our finished shirts using planet appliqués BLOOM ALPHA, I got free with a promotion. Each girl Is sporting an initial in their favorite color.

"Why do we have to take so many pictures mama?"

"Because I didn't get around to taking them before I dressed you for school dear."


Thursday, August 23, 2012

Diaper Storage

A recent Facebook post prompted me to describe my cloth diaper organization. So here goes.


I got this new changing table for $15 at Dirt Cheap and the blue terry changing pad cover there also.

The large green bins came from there also. Beginning to see my Dirt Cheap addiction?

The smaller ones I got at Target on clearance.


The bin on the left holds my fitted diapers. All of which I made.

The middle bin holds my pocket diapers and covers, some of which I made, and cloth wipes, which are actually infant wash cloths.

The bin on the right holds my inserts and prefolds. Some of which I made. See the cute wiener dog ones?

The large bin labeled diapers holds disposable diapers and the cloth bits that are not in rotation right now.

The large bin labeled laundry holds guess what? Dirty laundry.

I keep the dirty dipes in this wet bag I made to fit the end of the changing table. I think I should made a tutorial for that sometime.

An in case you've got the misconception that I've got my whole house this organized, I'll show you the other side of Prince Charming's room, which doubles as my embroidery machine and serger area. And also seems to attract all the piles and bags of fabric. The poor baby does get to hang a few clothes in his closet.

Ahh! It makes me crazy, but I try not to look at it. I'll get it clean at some point, but then another spot in the house will be piled with stuff. I've accepted the inevitable.


Wednesday, August 22, 2012

It's a Mama Thing

Lately I seem to be getting into some situations only fellow mothers could relate too. Please tell me I'm not the only one.

All my kiddos have been sick for about a week. Today little Snow White could go back to preschool and after we picked her up we went to Shirley's, a local craft and fabric store, to pick up some ribbon. I got a buggy and pushed it up the hill to my van to load everyone in. Once I parked it next to the van, I realized it would roll backwards down the hill... I needed to load 1 buggy cover for the baby, then 1 baby, and 2 3-year olds, or at least get them out to follow along.

How was I to hold the buggy from rolling down hill and unbuckle harnesses that take 2 hands to unbuckle?

Lol! I wonder if anyone was watching me trying to figure this out.

I could reach Cinderella and unbuckle her while holding the buggy with my foot. I placed her in the back, and had her hold onto the door handle of the front door to keep herself from rolling away. Then I put on the infant buggy cover and unbuckled Snow White. Then I could buckle Prince Charming in the buggy and have Snow White follow along. Whew! I laughed at myself just writing that down.

Unfortunately, we then had to get back out again after shopping. I did figure out that time to park the buggy in front of my van so gravity could not pull the buggy downhill, and I could get the kiddos out one at a time without losing anyone. I guess it would have been too easy to do it that way the first time.


Also during the latest sickness there has been some vomiting. Not horrible vomiting, but still several incidents. One of these times I was able to catch it mostly in my hands. Now my husband says this is disgusting and that no one other than me would do that. But I say no, "you are no mother, you are not the one cleaning up the pukey mess. " I say most moms would gladly catch the mess and then wash herself up, rather than wash up an entire bed and floor.

What about you???

Is this weird?

Tuesday, August 21, 2012

Fall Pattern


Here's a new pattern I've been working on for fall and winter. I'm still tweaking it, and my sick models haven't tried it on yet to get that final fitting, but I'm getting close to putting together my first complete pattern. Over the last few years I've made up several dresses, but never actually tried to put them together in a pattern tutorial, so I'm taking a stab at it.

It will have long sleeves or a three-quarter length sleeve option and the skirt can be one piece or 3 tiers in a jersey knit fabric or quilting cotton print.

The grey on this sample is pretty dreary, but I was saving my fun pink jersey knit for a sure-thing. So now I'm ready to sew up the next dress with this pattern, if only my sewing list wasn't always so long.

Monday, August 20, 2012

Button happy!

I don't know if you've noticed, but I figured out how to add a button to my blog. To some this may seem simple, but to this busy mom it's a huge accomplishment. (I also added label categories this week- to see posts related to topics like sewing, family fun, frugal shopping, or cloth diapering look on the right side of the screen).

But back to my new button.

If you'd like to shop for cloth diapers, yummy smelling bottom cream, or other natural accessories for babies, try Kissed by the Moon. I just became an affiliate and I can tell you from personal experience the customer service is great and you will not find faster shipping. My last order shipped within 1 hour of being placed.... That's fast. And by the way shipping is free and there is no tax.

My personal favorite product from Kissed by the Moon is the CJs original butter sample size for $1.50. Try any or all the scents. Use it on baby bottoms, dry skin, eczema, bug bites, most anything.


Need any more reasons to shop?

They are highly rated.

Just click my new button on the right side of the screen.

Mobile viewers will have to view the web version to see it.


Happy shopping.


Friday, August 17, 2012

Favorite Thing Friday - Fluffy Mail!

I love all my newest cloth diapering products I ordered from Kissed by the Moon.

After speaking on the phone with someone at Softbums I was convinced to try a Softbums Echo shell, to this point I have used only Omni Shells, which are a larger fit diaper cover. The Echo is trim and I love it. Paired with the new bamboo pods I ordered it fits nicely and is definitely trimmer than our other options. A snap-in microfiber pod also fits nicely. A prefold will not fit inside though, and it is not recommended for night use because it can't be stuffed much and does not have a pocket.

I also ordered my first, yes my first Oso Cozy unbleached prefold! I don't know why I have hesitated so long. It works great, just like my flip prefolds that I love so much and was much cheaper at around $3. I got the shorter version to use pad-folded in a cover.

Cjs butter rounds out my order. If anyone needs a good bottom product, I would recommend this. I've been using it for a while on my baby boy's bottom, because in cloth he rarely needs anything stronger like desitin. The trial sizes are only $1.50, and it comes in so many scents you'll want to try a few. This trial size is New mown hay, how southern is that? I got the full size tube, the first I've ever owned because the trial sizes last a long time, for FREE, yes FREE with my order. It was a special being run at the time.

Always check for specials and coupon codes when ordering cloth diapers and products, because there are tons of sales. Refuse to pay shipping, and always get something for free (maybe even a diaper). If you can't find a great deal, just wait for the next holiday. Next up- LABOR DAY. Trust me the sale will happen.

Thursday, August 16, 2012

10 Things to do with Cardboard

Need reasons to save your cardboard? Here are 10 ways to use it.


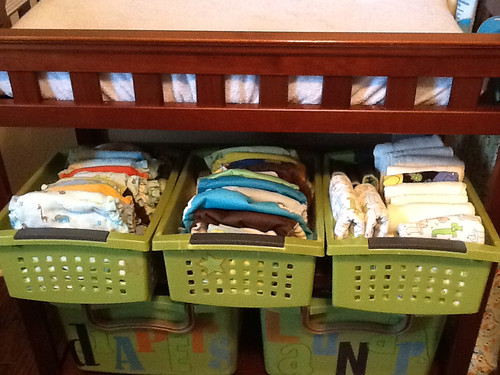
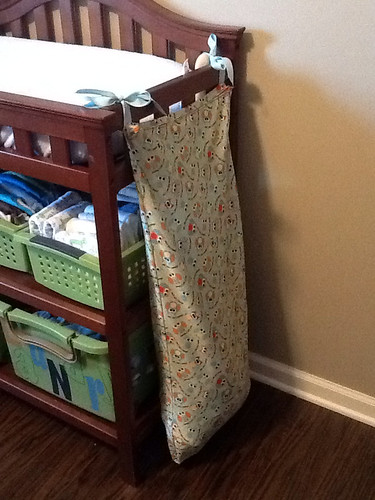
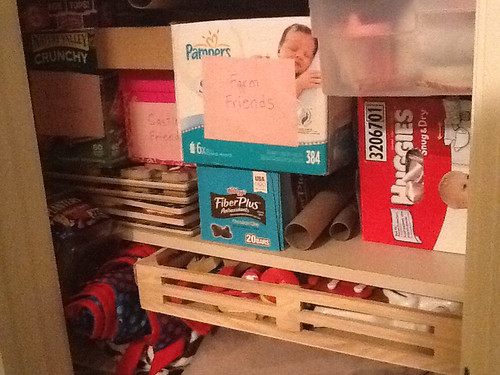
Store and organize little toys. Small boxes with the flaps cut off work great. My hall closet holds lots of cardboard boxes, one has animals, one has Little People castle friends, and another has Little People house friends ( my girls call them their "friends"). A build-a-bear house holds blocks, and a big diaper box cut like a suitcase ( placed on it's side with a large side detached on 3 sides, so that it opens and closes) holds dress-up. Of course all these items are in the closet so that I can control how many and what boxes are out.

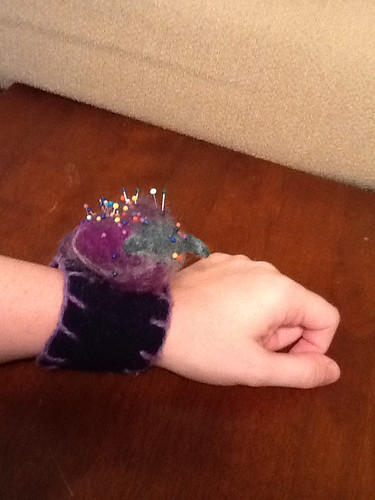
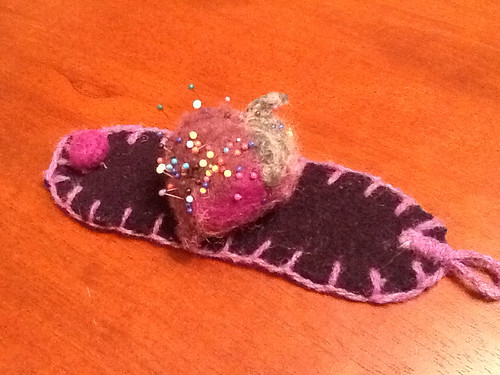
Dress-up. Toilet paper rolls are fun to use as wrist cuffs and pretend to be a super hero or a robot. If they'll slip over the child's hands go right ahead, or if not cut a slit down one side and open it up and place over your child's wrist.

Build things. I have already shown you this castle we build out of cardboard rolls and a box. We recently also built a robot with boxes for the torso and head, packaging materials as a hat, and a wrapping paper roll as legs. It was cute, but I disassembled it to use the torso as a shoe storage box before I took a pic.

Make fancy boxes. This is sort-of the same as no. 1, but the finished product is so much nicer and prettier to look at. THIS is an awesome tutorial from Positively Splendid. Her storage boxes are gorgeous!

Use it as a canvas. Running low on paper? Use cardboard. The cardboard that comes under a frozen pizza is perfect for painting or drawing on, or just cut-up a box.

Make music. Of course your kids already sing into the tubes, but you can also put waxed paper and a rubber band over the end to make an even more fun sound. Put rocks or beans in a small box or tube to make a shaker. Another box can be a drum, and pretty soon you've got a band.

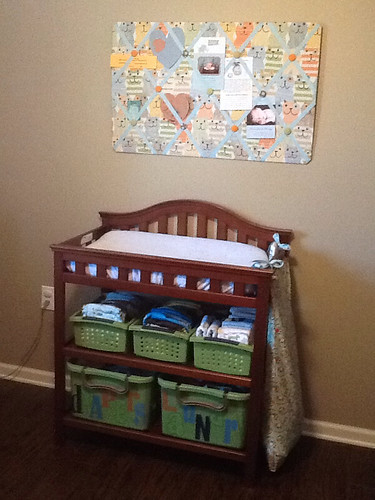
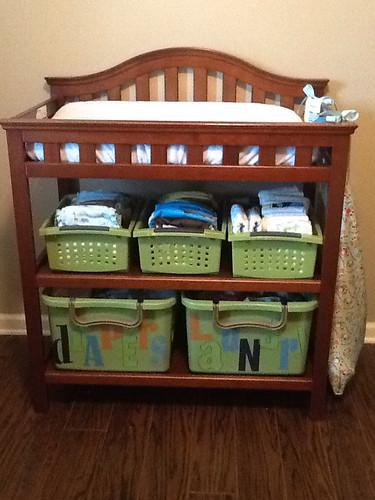
Make bulletin boards. I have made two bulletin boards with cardboard as the base. Cover with fabric, string ribbon across the front, add buttons, and hang. Tutorial coming soon.

Make a train. Line up several boxes and you've got a train. The kids will have a great time being the conductor and passengers. Don't forget to have a caboose.

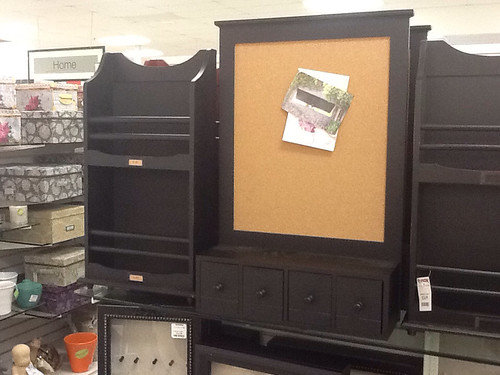
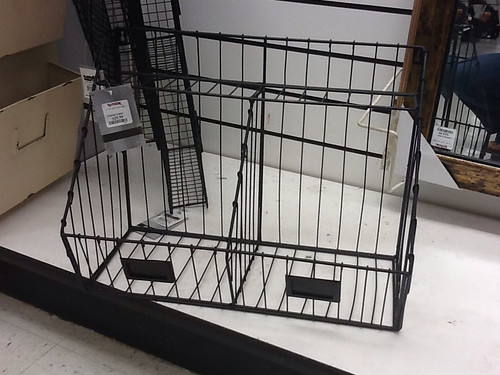
Make a pencil/marker/scissor/glue organizer. I've got my eyes on this cup holder to transform into an easy to use craft organizer. All it needs are 2 cardboard dividers inside and some decorating. I love that it already has a handle for easy carrying and the base is big so it won't tip over like a pencil cup would.
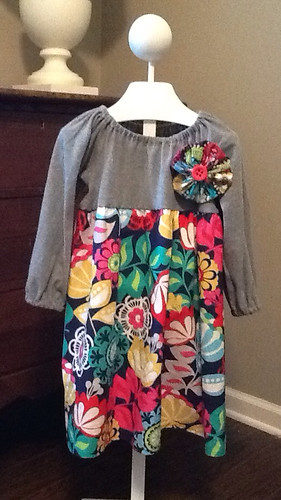
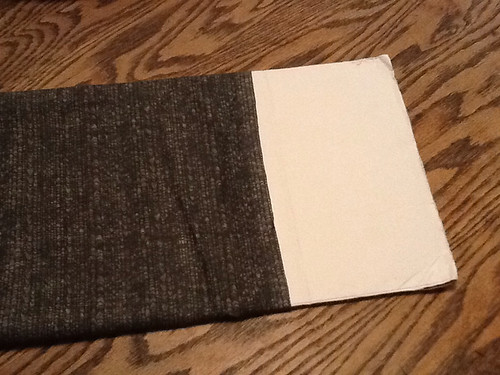
Use to make a sturdy bottom of a bag. I cut pieces of cardboard to fit the inside of tote bags, baby bags, and purses that I make. I make a simple sleeve out of lining fabric to slip it into. I fold the extra length of the sleeve to the back and place it in the bottom of the bag. If the bag needs to be washed, just pull the cardboard out.


Wednesday, August 15, 2012

Wish List

While out shopping the other day, it seemed like TJ Maxx had the best merchandise. On every aisle there was something for my future home. This home is in the very very early planning stages, so I don't need to buy anything yet. If it were a little closer though, I'd be so tempted.

Ok, I was tempted already, but resisted. (I pat myself on the back).

Here is my wish list so far.

Cork board with neat drawers underneath and sturdy paper catchers. My counter always has a pile of paper work on it. And I loovvee black furniture.

Really neat black metal wall storage unit.

Pretty and cheap baskets. $12.99.

I love this metal pipe coffee table with wooden top. It is turned on its side here.
This is the companion piece to the coffee table. I would only use one or the other.
King size quilt with blue, green, and aqua design. I plan on using a lot of pale blues and aquas in our new home. Having a king size bed is a dream of mine.

Happy shopping and wishing to you all.


Tuesday, August 14, 2012

Fabric shopping !!!!!

There is nothing fun about having a sick baby... Except, getting to take only that 1 child to town.
While in town we made a stop by Hancock Fabrics and picked up some things.
  • I needed black felt and elastic for a custom cat woman mask - elastic 30% off
  • Red flannel to make a raggy appliqué- remnant pricing $2 yard
  • Needles for serger and embroidery machine- 30% off
  • White elastic -30% off
  • Pink leopard print jersey knit to make dresses- 30% off
  • Red jersey knit to make bodice of dress-30% off
  • Doggie print to make skirt of dress- 50% off
  • Doggie and kitty print to do who knows what with- 50% off
  • Green and black knit remnant- $2 yard
  • and a little something for myself!

Friday, August 10, 2012

Croutons

For lunch yesterday I made some of these yummy croutons to top my Caesar salad. They are really easy and taste fantastic!

Get the recipe HERE from Savory Sweet Life. I leave out the salt, because the garlic powder gives enough flavor for me. They tasted a bit strong with the salt added. In the above photo there is 3 tablespoons of olive oil, 1 teaspoon of parsley, and 1 teaspoon of garlic powder.

Throw in the cubed bread. I've used white bread, wheat bread, with, or without crusts and they're all good.

They're really yummy to snack on when they're half cooked- a little crunchy on the outside but still chewy on the inside.


Hello lunch.

I've made these a few times and only burnt them once so far, which is more than I can say for the fried okra I made the children for lunch.


Favorite thing Friday - wrist pin cushion

If you sew, you NEED a wrist pin cushion.


This is why I love them:

The pins are always close by.

While sitting at the machine you can pull pins from fabric and not have to look for your pin cushion to put them in.

The pin cushion does not scoot away from you while you are trying to use it.

They are pretty, well at least mine is.

I got this one at the Country Living Fair in Atlanta, Georgia a couple of years ago. My dear husband took me on a mommy vacation without the children. It is made with handmade felt from a family owned business "The Au Gres Sheep Factory" that harvests wool from their sheep. Made in Michigan "Ewe" S.A.


Thursday, August 9, 2012

Sewing Inspiration


I thought you all might want some sewing inspiration. So, let's play show and tell. I'll post some of my favorite sewing projects and you post yours.

Today I'll start with some children's clothing I've made.

Jumper Ruffle Pants Pattern by The Dress Peddler


Easter dresses from last year. I used Simplicity 3511 Pattern. I lengthened it to make it ankle length and added the beading to make it dressy. This one turned out really nice. It was made from a flat bed sheet. The hem on the dress is the top of the flat sheet, which came with this really pretty detail. Everyone wants to know how I made it. Lol!


I love the simplicity of the teddy bear buttons with the blue and white stripe. Made with Martha Pullen's Boys One Piece Suit Pattern and yard sale fabric.


Janey Dress Pattern by Sew Sweet Patterns sewn with a fitted bed sheet and a "tapestry" piece of fabric I purchased from Dirt Cheap and is sold by Target during back-to-school season.


Reversible Girls Jumper by Martha Pullen's, sold with the Boy 's One Piece Suit Pattern above. I made yo-yos to accent the fabric and used them as buttons on one side and the center of the flower on the other.

Reverse of jumper above.


Now, what have you been sewing?