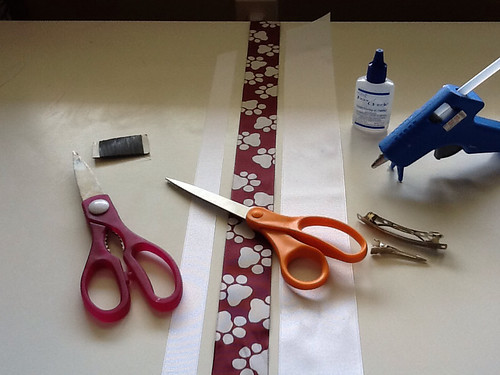
Supplies needed:
Thin wire
Wire cutters or old kitchen shears, something you don't mind using to cut wire- it will ruin your good scissors
Good ribbon cutting scissors
Fray check
Hot glue gun and glue stick
Barrette
Ribbon
7 inches of 7/8 inch grosgrain ribbon
30 inches of 1 1/2 inch grosgrain ribbon
25 inches of 2 1/4 inch grosgrain ribbon
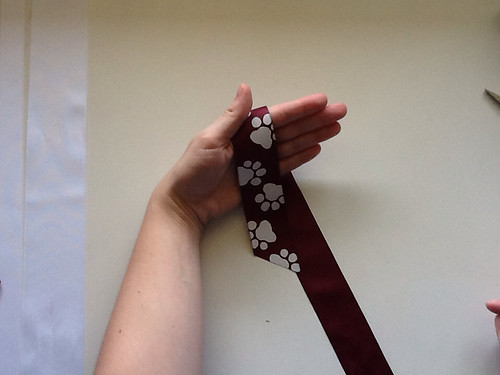
Cut 2 pieces of wire about 4 inches long and set aside.Lay the piece of 1 1/2 inch ribbon over your hand like so. Keep in mind I am right handed. If you are left handed, then reverse the hand used.
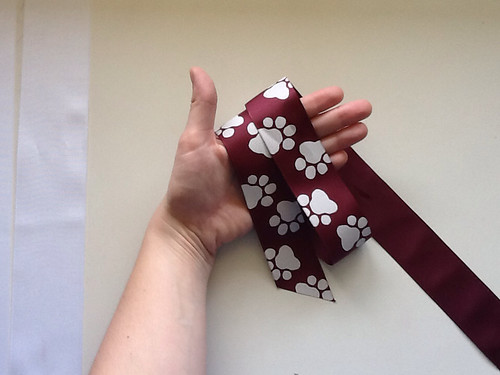
Use the long tail to make a wrap around your hand, overlapping the edge of the first piece slightly and keeping it loose at the bottom of your hand. Now make 1 more wrap around, overlapping the second layer slightly and matching the bottom area again.
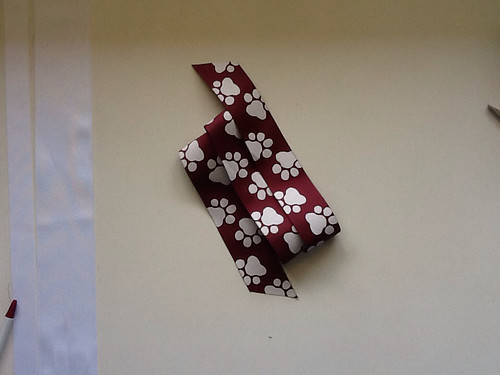
Carefully lay this down on the table. Notice each layer is slightly overlapping the last and the ends of ribbon are almost the same length. The length of these wraps are what determines the size of your finished bow. These loops should be about 6 inches long.
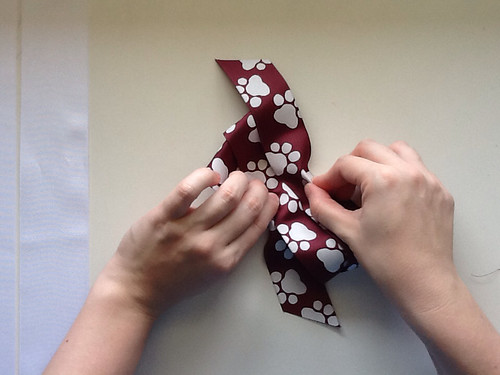
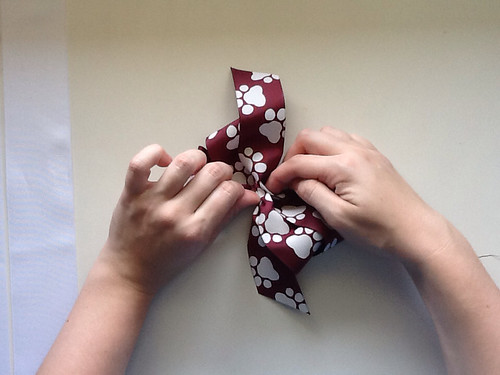
Using both hands, one on top and one on bottom, "scroonch" up the ribbon by gathering it tightly in between your fingers.
This takes practice, so be patient with yourself. If you get lots of wrinkles, just iron them out and start again. Don't iron directly on printed ribbon like this paw print ribbon though.
Wrap a piece of wire around the middle of this section to hold it in place while you continue working.
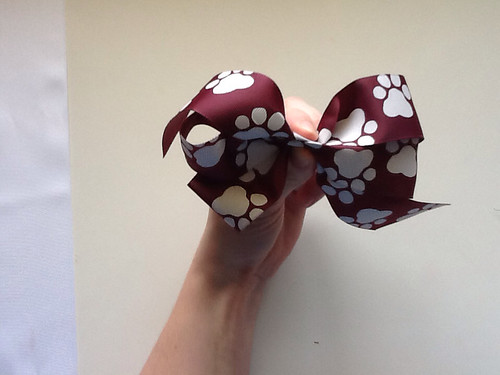
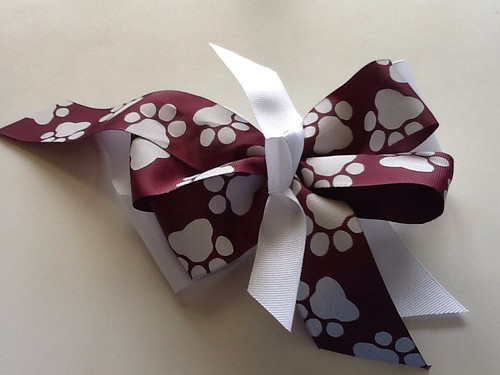
Now if you don't want a fancy smancy double-decker hairbow, you can stop here and follow the directions for finishing this smaller bow. This bow would be a good size for about a 2-3 year old.
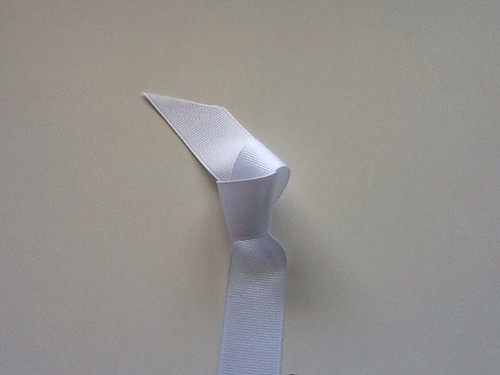
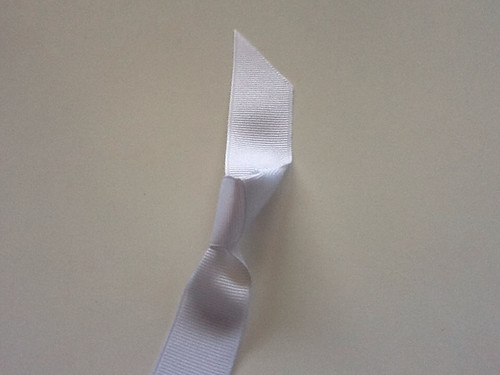
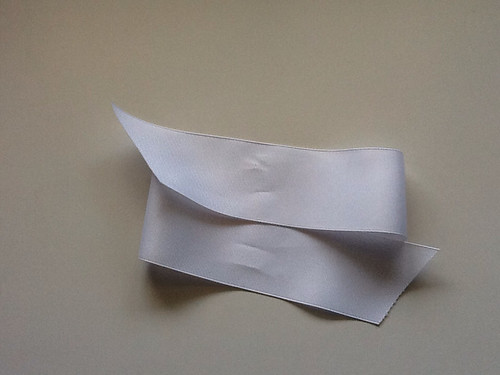
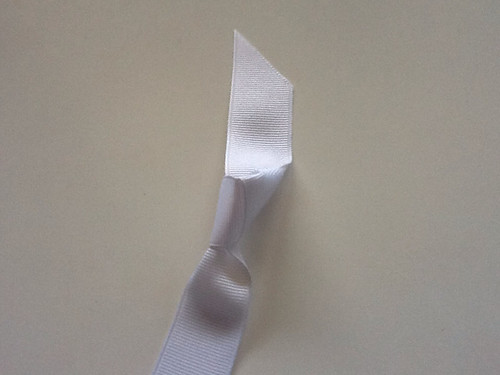
Use the piece of 7/8 inch ribbon and loop over and through itself just as you would to make a knot. Except when you do, be careful to make it pretty especially as you are tightening it down.
Do not tighten as much as you can, but leave it rather loose. Notice how it forms a point, or triangle in the middle, and the tails are lying flat.
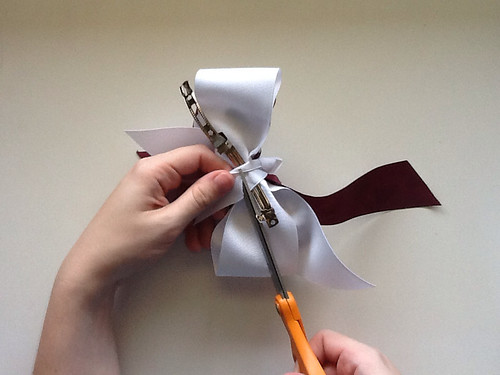
Trim the extra wire from the back of the bow, leaving enough to hold the twist together, but not so much it is in the way.
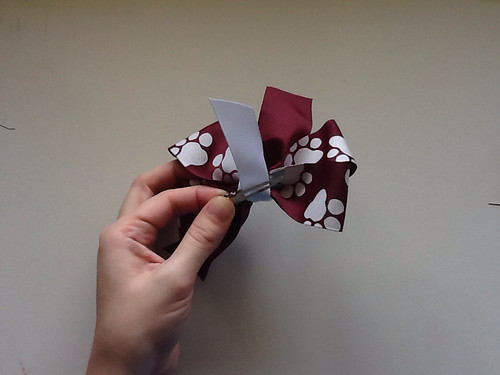
Lay the knot on the center front right over the wire, and pull one tail to the back rather tightly.
Put a dab of hot glue on the center in the back. Make sure you've got the knot centered on the front and glue the tail down. Trim away the excess tail.
Put another dab of glue and stick the barrette down (if using the springy type of barrette see instructions below).
Open the barrette and pull the other tail around tightly, put a little glue underneath and stick it down.
Trim away the excess tail.
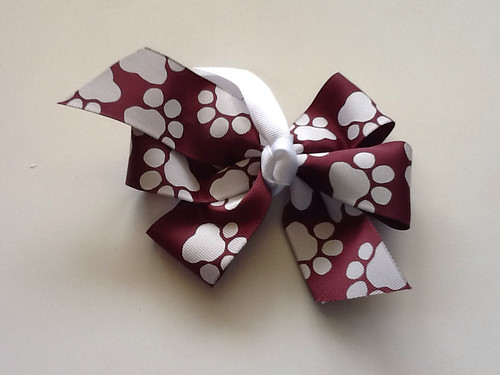
Trim ends of bow, cutting with one smooth motion at a 45 degree angle, apply fray check to the ends and you are done.
NOW FOR THE DOUBLE DECKER ADDITION:
Do not finish off the bow above, but stop after wrapping the wire around the first bow section, and continue below.
Wrap the 2 1/4 inch piece of ribbon around your hand the same as you did before, except this time you only have 2 wraps instead of three. You could also just lay it flat on the table and arrange it. Notice the edges are overlapped and the ends are cut in the same direction as the ends on the smaller bow.
Lay carefully on table. These loops should be about 7 inches long.
Scroonch up this bow and wrap with wire.
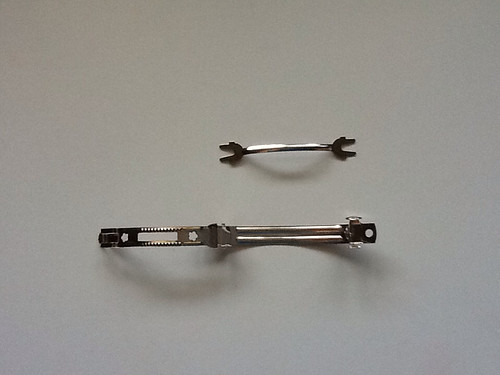
If using a springy barrette, take out the center portion and set aside (if using a clip type barrette read directions above).
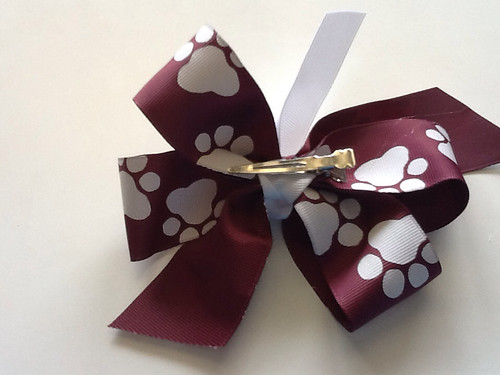
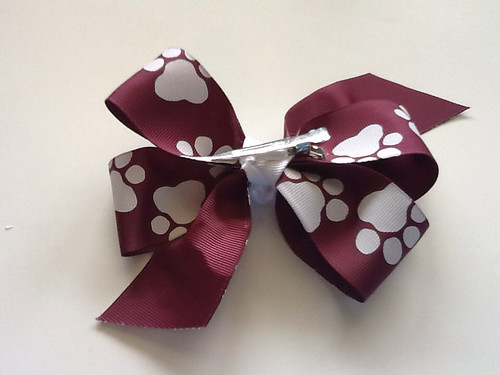
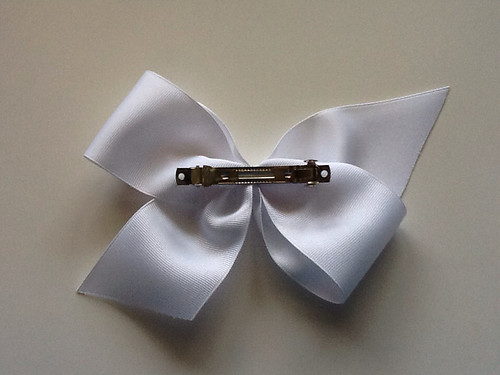
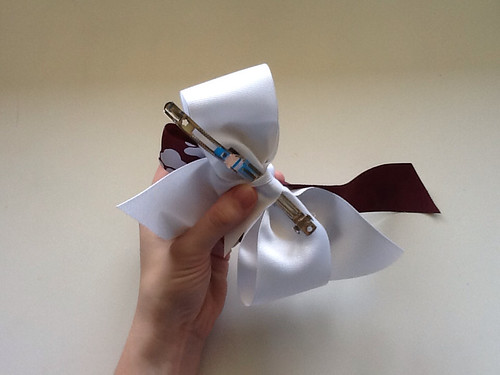
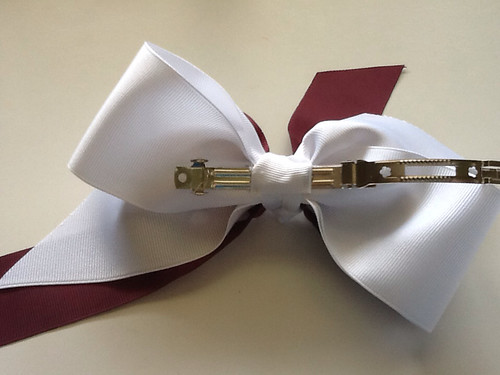
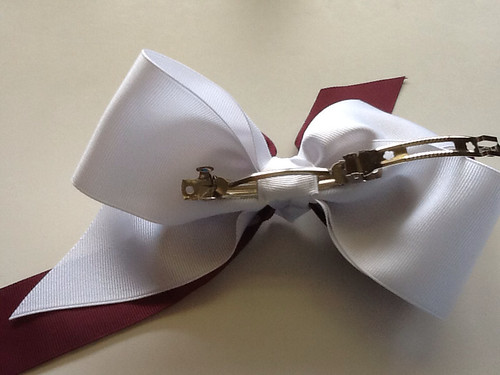
Turn large bow over, clip excess wire, and hot glue barrette onto middle of bow.
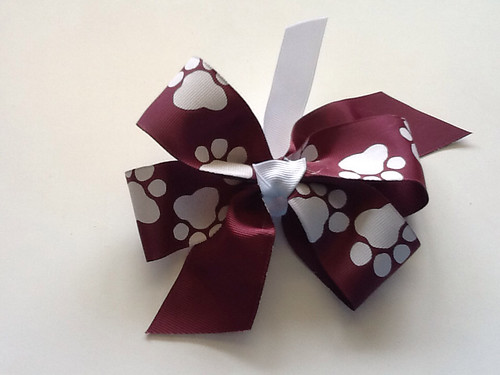
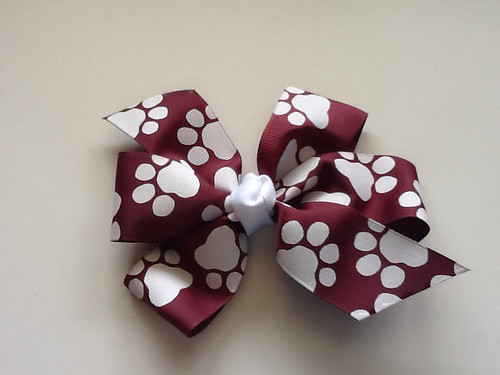
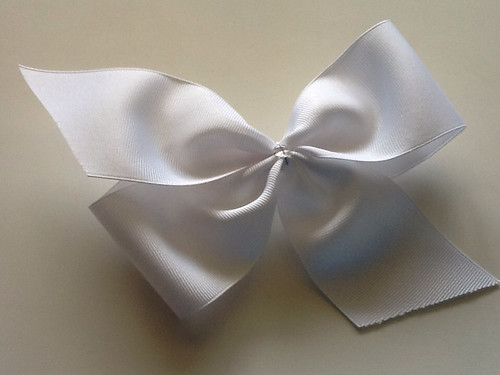
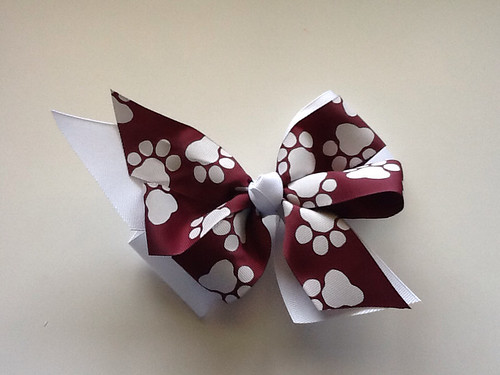
This is what it looks like from the front.
Use the 7/8 inch piece of ribbon to make a knot for the middle.
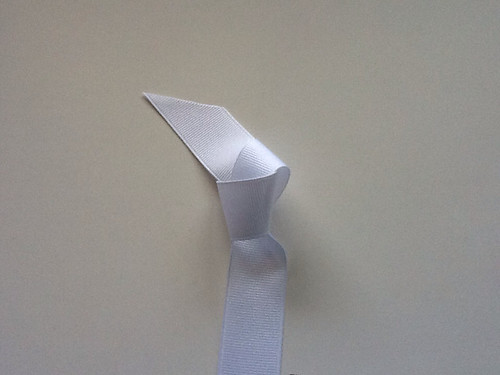
Tie a loose knot in the middle of this piece of ribbon, but do not pull tightly.
Carefully arrange the knot as you tighten it so that it is pointed in the middle and the tails are lying flat.
Trim wire on smaller bow.
Dab hot glue on top of larger bow and stack smaller bow on top.
Place knot in the middle and add a bit of hot glue in between here too.
Pull one tail around tightly and hot glue the tail down on back side.
Trim the excess tail.
Pull other tail around tightly and hot glue in place also. Trim this tail.
Reinsert springy mechanism.
Trim all 4 edges so that they go the same direction and are pleasing to you. I always trim the ends last. Apply fray check or burn edges and you are done.
No comments:
Post a Comment