Sewing

Showing posts with label sewing. Show all posts

Thursday, October 11, 2012

Nightgown

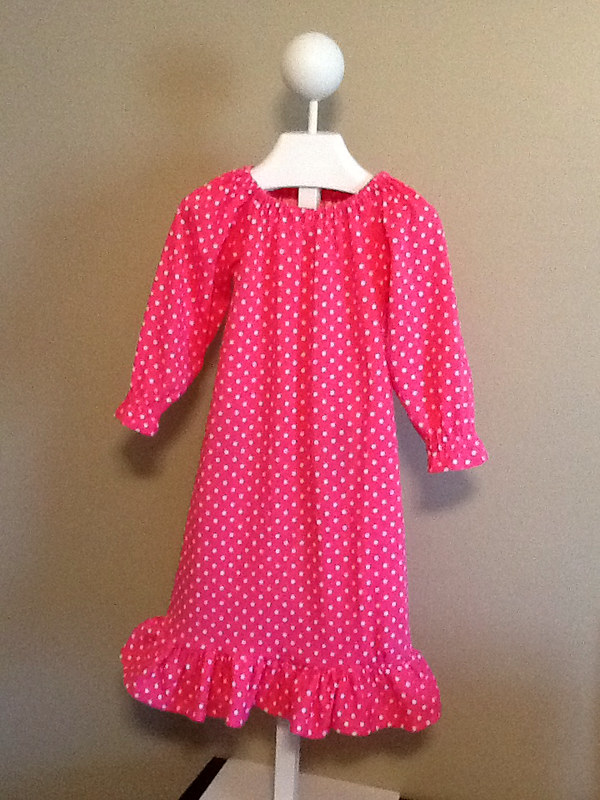
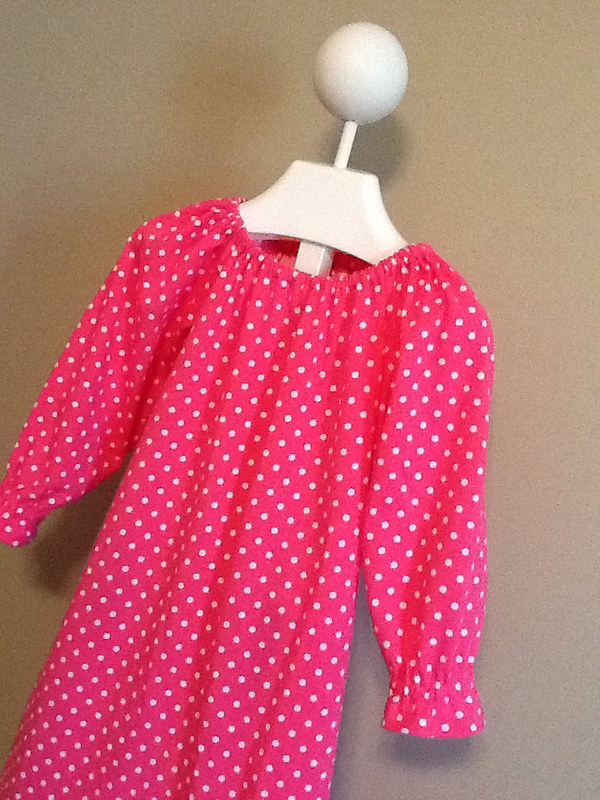
One of the latest presents I have made is this nightgown for my niece. She recently turned 2 and had a Minnie Mouse party. I picked this soft comfy knit polka dot at a remnant clearance sale recently for 20 cents a yard!!!! I know, freak out moment.
This was only one piece of the 2 huge bags I bought that night while my husband not-so-patiently waited in the car with 2 of the kiddos (1 was "helping mommy shop").

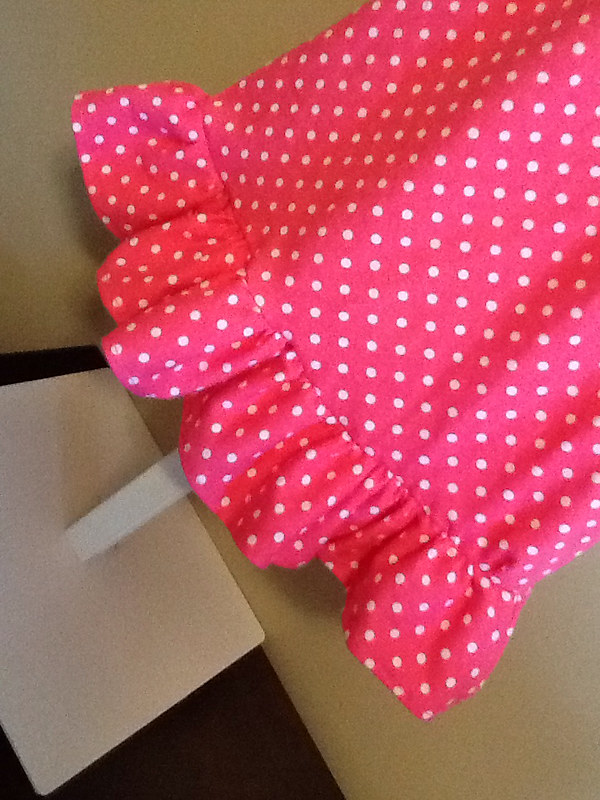
I adapted the new pattern I've been working on, and have yet to completely put together, by adding length, a deep ruffle, and a slight ruffle at the wrist.

Little Belle seems to like the print and the softness of it and my girls want one now. So who knows, the pattern may turn into a nightgown tutorial before it's finished.


Wednesday, October 10, 2012

Button storage

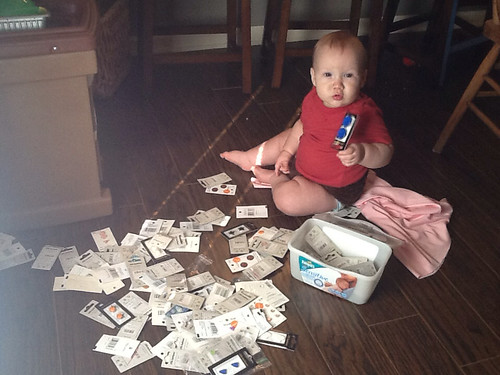
Do not, I repeat do not let your baby help organize your buttons.

I have a rather large button stash because a local store sells buttons at 3 cards for $1 and sometimes 4 cards for $1. If you use buttons you know this is a steal. So when I see some I like, I pick up a handful.

They were all lined up in this wipe box, that is until it got pulled into the floor.

After this photo was taken, I cut cardboard pieces that fit inside the wipe box to make 3 rows for buttons.

I sorted them out again by color and put them back in using rainbow order, then wrote on the front of the box which colors were in which row.

Free and easy button organizing!


Friday, October 5, 2012

Super girl TUTORIAL

A friend needed a super hero outfit for her daughter, and she knew who to call.... SUPER SEAMSTRESS to the rescue!

I whipped together this outfit for her to wear in our local homecoming parade.

MASK

The mask I made in the same way that I did the cat woman mask, check it out HERE, but there are a couple of additions to this mask.

I changed the shape of the mask a bit to make it more super hero by shaping the top corners to a little point and by widening the eye.

I made a ribbon casing for the elastic and fed it through before sewing the mask because all I had was white elastic and I wanted it to be cute. I ironed 1/2" gross grain ribbon in half and sewed a very narrow seam and the 1/4" elastic fit perfectly.

I also cut out heart details to sew on the front and hot glued a rhinestone on for a little girly bling.

WRIST CUFFS

These are really easy to put together. Measure the wrist and add 2 inches. This is the length. Draw out a simple rectangle with a sloping point on one side.

I've found the easiest way to top stitch together two pieces that are the same shape is to cut out one shape, lay it on top of another piece of felt larger all the way around, top stitch together, and then cut away the excess on the larger piece. This way you don't have to worry about your fabric shifting.

After you have the cuff piece add on any embellishments and sew on a piece of Velcro on each end.

CAPE

To make the cape I used the tutorial HERE from moms rising.org. The tutorial was made by howdoesshe and she did a great job. I found it easy-to-follow. I did change a few measurements though because I needed a cape to fit a larger size child and not a toddler.

First I cut a piece of fabric 35 inches long and kept it folded in half lengthwise.

Then on one end I measured 14 inches and made a mark.

On the other end I measured 6.5" and made a mark.

Then you draw a line to connect the two. I did later decide that this would be a little too wide for my girl and cut off about 1 inch from this long side.

Now you use a plate 8 inches in diameter to make the neck. Place it 6" from the top and 5" from the fold and draw around it.

Now cut it all out 1/2" from your markings.

If adding an appliqué, do it now. I used the superhero alpha from planet appliqué.

Pin it all the way around. Use a lot of pins if using slinky fabric like my polyester knit.

Sew all the way around with a 1/2" seam allowance, leaving a hole for turning in the bottom of the cape. Clip the curves, turn right side out, press, hand sew hole closed, machine stitch on a piece of Velcro, and you are done!


Your little one will be ready to take flight!
 

Cat woman mask TUTORIAL

A friend asked me to make a cat woman mask for her daughter so that her children could be batman and cat woman for Halloween. This is how I did it.

Gather supplies: 1/4" elastic, black felt, black sparkly fabric
Using scrap paper I adapted a basic mask pattern by adding a cat ear.

Fold felt in half, pin, and cut mask.

Measure your model's head from ear to ear around the back, then subtract 1 inch. Now cut cut your elastic to this length.
Roughly cut a piece of the sparkly fabric bigger than the mask, and sew the felt piece onto it using a narrow seam allowance. Sewing with the felt on top will be the easiest.
Don't forget to put the elastic in between the two layers at the corner of the eye. Go ahead and back stitch over the elastic area to reinforce the elastic.
As you sew around the mask keep your elastic out of the way making sure not to sew over it when you do not intend to.
Your mask should now look like this from the front.
Carefully trim away the sparkly fabric making sure not to cut the elastic, and you are done!
 

Tuesday, September 4, 2012

Fall Pattern Update

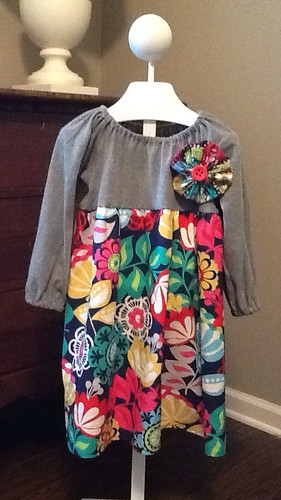
I'm working the kinks out of the smaller sizes of the new pattern I've been working on. Here it is in size 18 months.


I also added a flower appliqué to this larger size of the same pattern. The yo-yo flower has a backing with a pin and a clip, so it can clip in the hair as a bow.

Hopefully I'll have the pattern and tutorial finished sometime before next spring.

Happy sewing!

Monday, September 3, 2012

Birthday Girl

A friend's daughter is having her 1st birthday very soon, and her grandmother asked me to make a dress for her. I used this cute cupcake fabric in fall colors.

I couldn't stop there of course, so I made this 1st birthday shirt also.

The cupcake appliqué Is by planet appliqué. I like it because you can add as many candles as you need.

I couldn't having her older brothers feeling left out, so I made them shirts with a tie.

The tie design is also by planet appliqué.

Happy birthday Lilly!


Friday, August 31, 2012

Favorite Thing Friday- Friday Night Football

I have always loved the Friday night festivities of a high school football game. Through junior high and senior high school I was a cheerleader. This meant I was there for every game jumping around and cheering for my team. I also wanted to be in the band and march during the half-time show, but my father thought that would be too many activities for me ( I already took weekly piano lessons and did countless other activities). I wonder why he thought I was too busy?

Now notice I did not say that I love watching the game. I do enjoy a good game, but mostly I enjoy watching the "pretty people" as my husband titled them for me after trying to watch college football games with me. I do well for about the 1st quarter watching the cheerleaders and pom squad and then start to get antsy. I make it through then 2nd quarter so i can see the band, and if I make it any further that's just gravy. I have just recently realized why I can't sit still during a ball game, because i'm used to be jumping and hopping around!

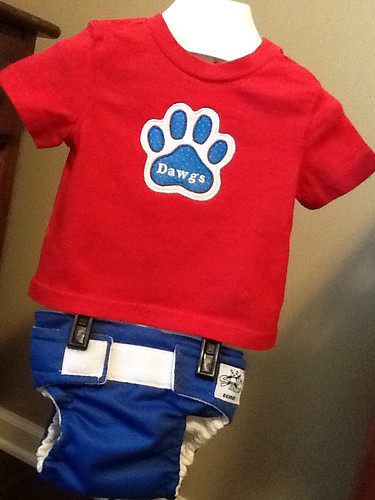
So with my love of Friday night lights the kiddos have to have some outfits supporting the home team, and here they are.


And these for our friends down the road. Does anyone know how to turn this pic around?

Monday, August 27, 2012

Raggy appliqué tips

I've done a few new appliqués for the girls recently, here are some tips I'll share about doing raggy appliqués.

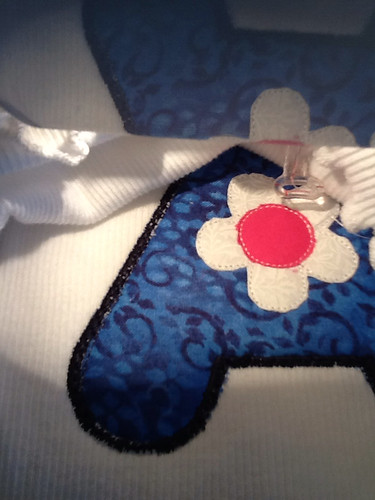
  • Raggy appliqués don't need as many layers of stabilizer because they have so many layers of fabric already. I normally need 3 layers of stabilizer to keep my bobbin thread on the backside, but for raggy appliqués 1 layer is enough.
  • Keep your project hooped while you cut around the design and while you rag cut the edges. The hoop keeps the project pulled taut and makes you less likely to cut a hole where you don't want it.
  • Don't be so matchy-matchy. I usually keep everything just so, but for this I tried using a different color flannel than my top fabric color. I think it adds interest and brings more colors out of the leggings I'm pairing it with. The tutorial on Five Star Fonts that goes with this FREE design I used actually used two different colors of flannel and a cotton print on top. Check out their other free designs HERE. They have lots of cute ones.
  • These designs take very little thread, so this is a great time to use all those almost empty bobbins.
  • You don't have to buy a special design to make a raggy appliqué. Just look for a design you already have that is very simple.
Now a tip for centering any appliqué.

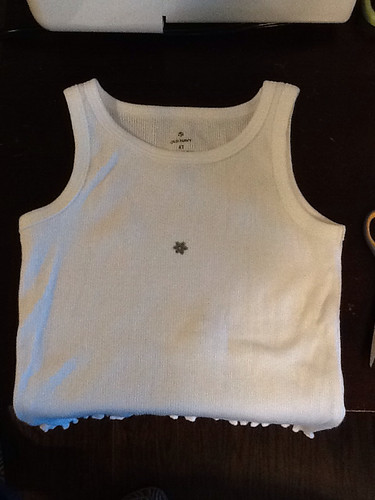
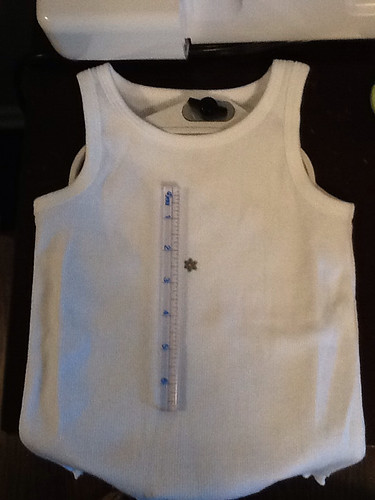
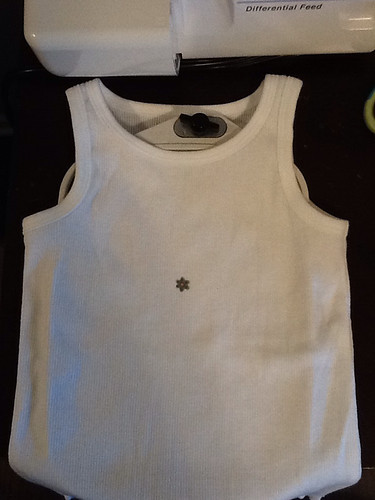
  • As always I used a sticker to mark the center of where my design should be on my shirt before hooping. The best way to find the sweet spot is to start at the base of the shirt sleeve and draw an imaginary line to the center of the shirt, making sure you are lined up with the neck tag.
  • Always measure to ensure your design's actual size with will be centered top-to-bottom also. In this case I actually needed to move my sticker down about an inch. For me this usually isn't necessary.
 

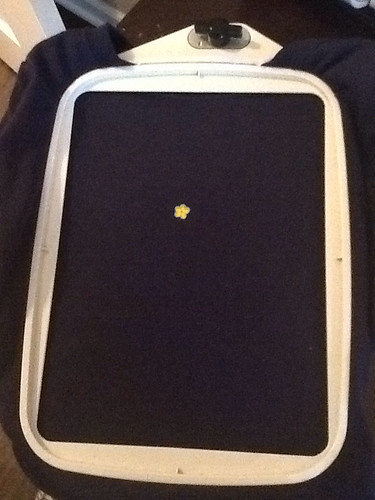
  • Now hoop, and if you don't get the hoop exactly center, no sweat because you are using your sticker to mark center with your needle. Yes, my shirts are changing colors.
 

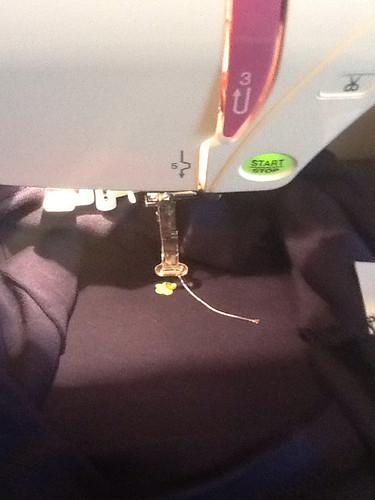
Remove the sticker before stitching. And let your machine do the work, while you try to keep the rest of the shirt and your fingers out of the way.

On a side note, does anyone else having trouble with their bobbin thread showing on the top? I've tried multiple things and some work some of the time, but nothing seems fail proof.

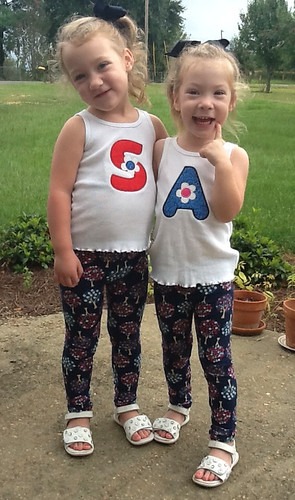
Here are our finished shirts using planet appliqués BLOOM ALPHA, I got free with a promotion. Each girl Is sporting an initial in their favorite color.

"Why do we have to take so many pictures mama?"

"Because I didn't get around to taking them before I dressed you for school dear."


Thursday, August 23, 2012

Diaper Storage

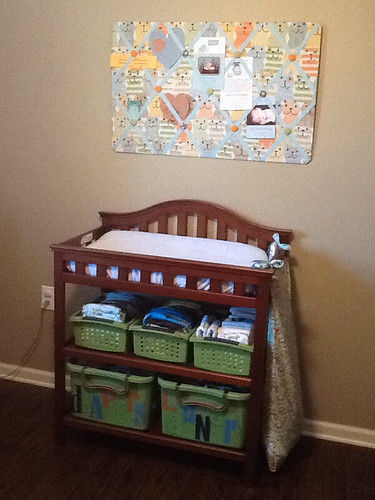
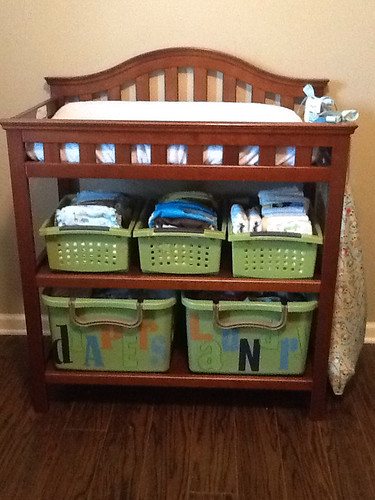
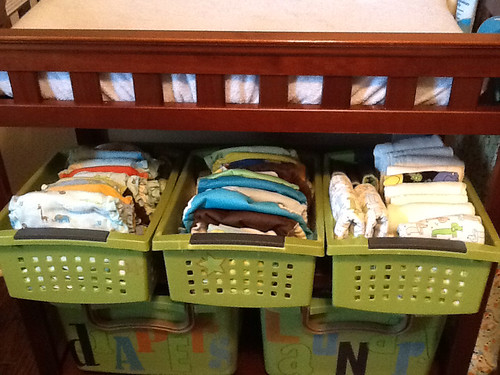
A recent Facebook post prompted me to describe my cloth diaper organization. So here goes.


I got this new changing table for $15 at Dirt Cheap and the blue terry changing pad cover there also.

The large green bins came from there also. Beginning to see my Dirt Cheap addiction?

The smaller ones I got at Target on clearance.


The bin on the left holds my fitted diapers. All of which I made.

The middle bin holds my pocket diapers and covers, some of which I made, and cloth wipes, which are actually infant wash cloths.

The bin on the right holds my inserts and prefolds. Some of which I made. See the cute wiener dog ones?

The large bin labeled diapers holds disposable diapers and the cloth bits that are not in rotation right now.

The large bin labeled laundry holds guess what? Dirty laundry.

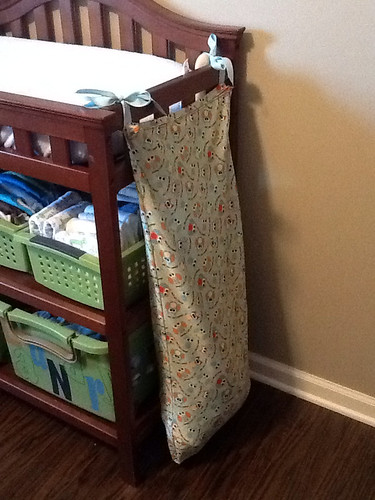
I keep the dirty dipes in this wet bag I made to fit the end of the changing table. I think I should made a tutorial for that sometime.

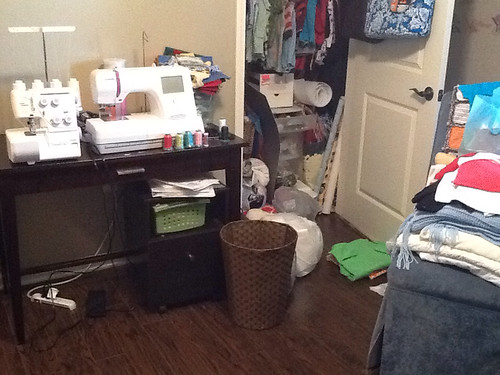
An in case you've got the misconception that I've got my whole house this organized, I'll show you the other side of Prince Charming's room, which doubles as my embroidery machine and serger area. And also seems to attract all the piles and bags of fabric. The poor baby does get to hang a few clothes in his closet.

Ahh! It makes me crazy, but I try not to look at it. I'll get it clean at some point, but then another spot in the house will be piled with stuff. I've accepted the inevitable.


Tuesday, August 21, 2012

Fall Pattern


Here's a new pattern I've been working on for fall and winter. I'm still tweaking it, and my sick models haven't tried it on yet to get that final fitting, but I'm getting close to putting together my first complete pattern. Over the last few years I've made up several dresses, but never actually tried to put them together in a pattern tutorial, so I'm taking a stab at it.

It will have long sleeves or a three-quarter length sleeve option and the skirt can be one piece or 3 tiers in a jersey knit fabric or quilting cotton print.

The grey on this sample is pretty dreary, but I was saving my fun pink jersey knit for a sure-thing. So now I'm ready to sew up the next dress with this pattern, if only my sewing list wasn't always so long.

Thursday, August 9, 2012

Sewing Inspiration


I thought you all might want some sewing inspiration. So, let's play show and tell. I'll post some of my favorite sewing projects and you post yours.

Today I'll start with some children's clothing I've made.

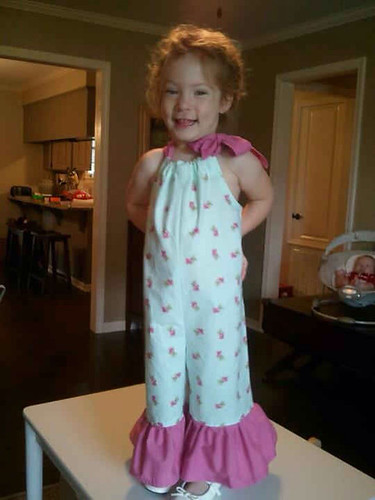
Jumper Ruffle Pants Pattern by The Dress Peddler


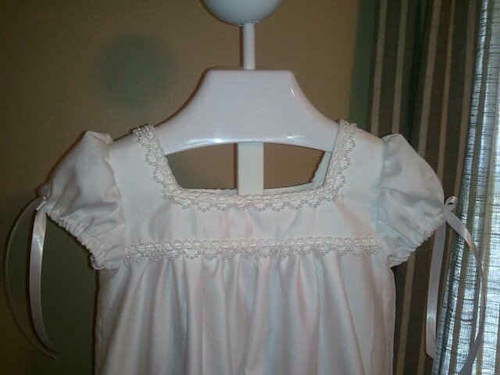
Easter dresses from last year. I used Simplicity 3511 Pattern. I lengthened it to make it ankle length and added the beading to make it dressy. This one turned out really nice. It was made from a flat bed sheet. The hem on the dress is the top of the flat sheet, which came with this really pretty detail. Everyone wants to know how I made it. Lol!


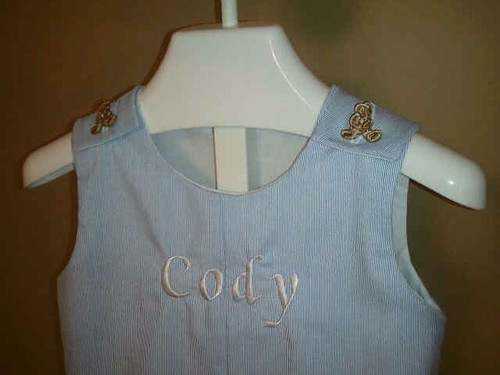
I love the simplicity of the teddy bear buttons with the blue and white stripe. Made with Martha Pullen's Boys One Piece Suit Pattern and yard sale fabric.


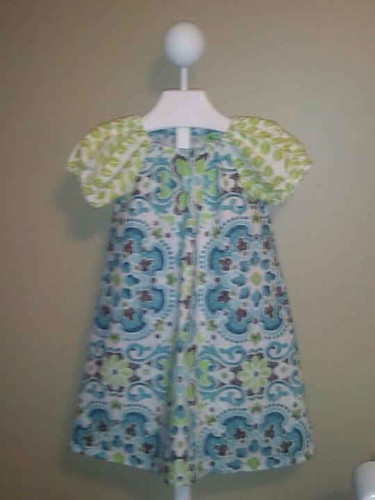
Janey Dress Pattern by Sew Sweet Patterns sewn with a fitted bed sheet and a "tapestry" piece of fabric I purchased from Dirt Cheap and is sold by Target during back-to-school season.


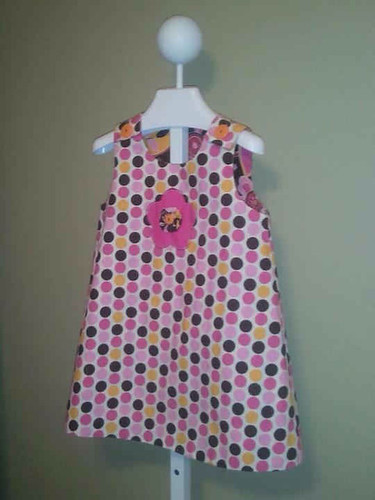
Reversible Girls Jumper by Martha Pullen's, sold with the Boy 's One Piece Suit Pattern above. I made yo-yos to accent the fabric and used them as buttons on one side and the center of the flower on the other.

Reverse of jumper above.


Now, what have you been sewing?