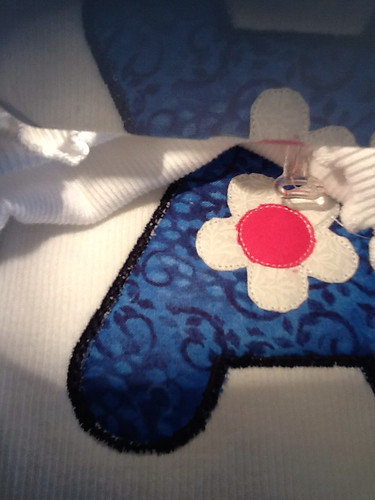
- Raggy appliqués don't need as many layers of stabilizer because they have so many layers of fabric already. I normally need 3 layers of stabilizer to keep my bobbin thread on the backside, but for raggy appliqués 1 layer is enough.
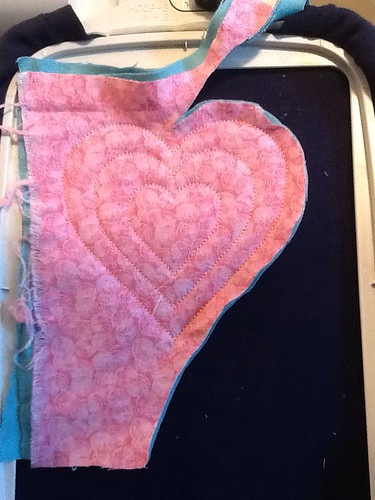
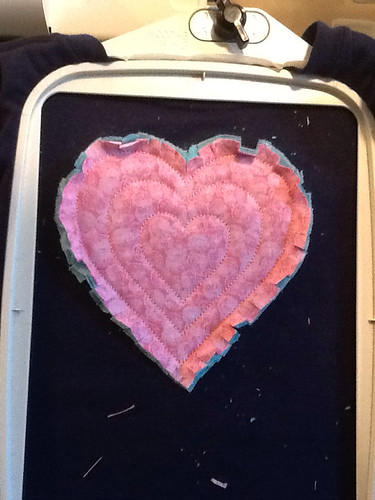
- Keep your project hooped while you cut around the design and while you rag cut the edges. The hoop keeps the project pulled taut and makes you less likely to cut a hole where you don't want it.
- Don't be so matchy-matchy. I usually keep everything just so, but for this I tried using a different color flannel than my top fabric color. I think it adds interest and brings more colors out of the leggings I'm pairing it with. The tutorial on Five Star Fonts that goes with this FREE design I used actually used two different colors of flannel and a cotton print on top. Check out their other free designs HERE. They have lots of cute ones.
- These designs take very little thread, so this is a great time to use all those almost empty bobbins.
- You don't have to buy a special design to make a raggy appliqué. Just look for a design you already have that is very simple.
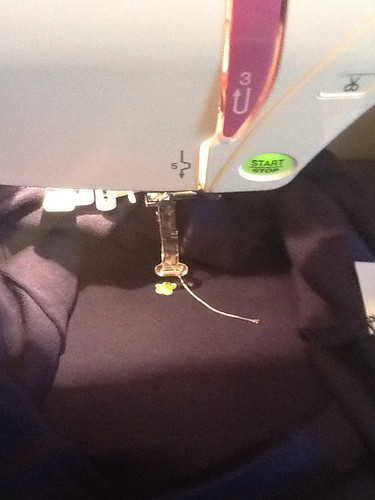
- As always I used a sticker to mark the center of where my design should be on my shirt before hooping. The best way to find the sweet spot is to start at the base of the shirt sleeve and draw an imaginary line to the center of the shirt, making sure you are lined up with the neck tag.
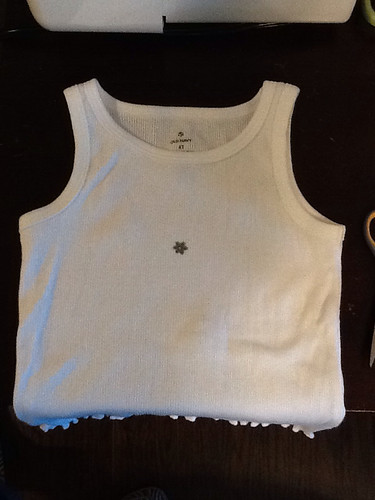

- Always measure to ensure your design's actual size with will be centered top-to-bottom also. In this case I actually needed to move my sticker down about an inch. For me this usually isn't necessary.

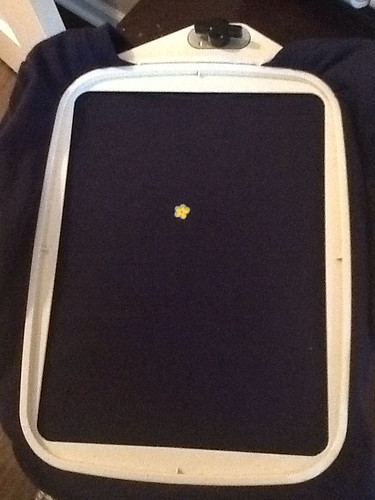
- Now hoop, and if you don't get the hoop exactly center, no sweat because you are using your sticker to mark center with your needle. Yes, my shirts are changing colors.

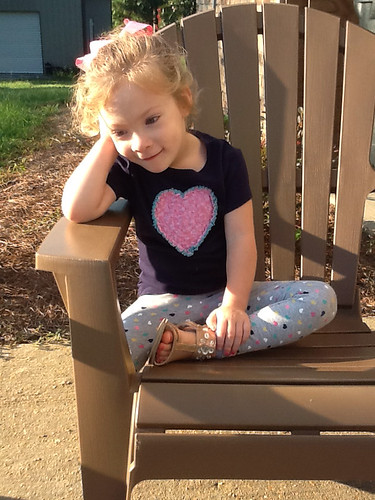
"Because I didn't get around to taking them before I dressed you for school dear."
No comments:
Post a Comment