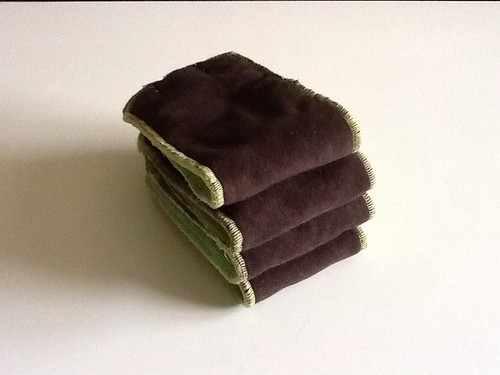
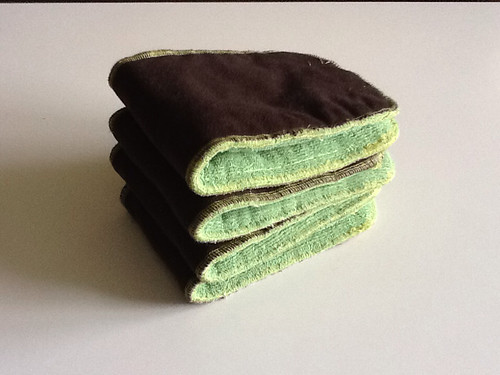
When I originally began looking into cloth diapers for my ds, I liked the idea of cloth diapering and everything I was finding out, except the price. As an experienced seamstress I decided the way for me to cloth diaper would be to sew my own. I began researching the fabric and materials needed for sewing my own diapers, and I learned a lot. The only problem was I had never owned or used a cloth diaper, so I had no idea what features I actually needed. I started by sewing a few flannel fitteds using different free online patterns and tutorials and tried them out on my niece who I kept daily at the time. I liked what I had done so far and continued on in my cd journey and bought some PUL fabric. After a couple of versions, I ended up with a pretty successful pocket diaper. I made tons of inserts from old burp cloths (prefold version) and flannel scraps. I also picked up several thirsties covers NWT second-hand at a great price, and decided I had a good enough stash to start my ds off with.
Over the last 5 months I have learned a lot about cloth diapering. I learned my homemade inserts weren't absorbent enough, I needed to add more layers of absorption, I didn't love pocket diapers, fitted diapers with a cover aren't twice as much work, and most of all that cloth diapering is possible and I do want to make it work.
My chunky ds grew out of those size 1 thirsties duo wraps quickly and my homemade stash of pockets with various types of openings weren't exactly leak free, so I began to shop the sales. I researched a lot and bought what would work for a chubby legged big boy and soon to be much bigger boy. Much to my surprise, i loved all the products I ordered.
So, my advice to all you money-saving sewing mamas out there is to first find what you like and works in your situation, then recreate it!
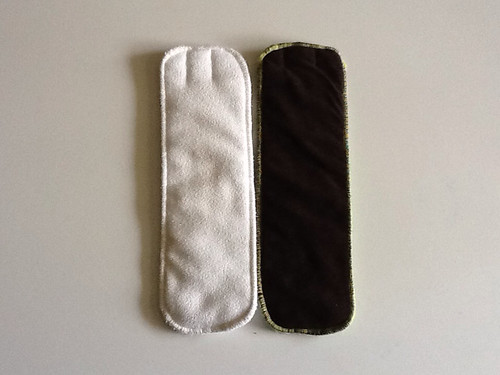
I did just that and now I have a good stash of purchased and homemade cloth diapers and inserts that work well every time. This is an easy insert to make that I modeled after my softbums staydry microfiber inserts.
I knew by reading online that the softbums inserts were 4 layers of microfiber topped with stay dry micro fleece. I had green microfiber kitchen hand towels and brown micro suede in my cd making stash already, so that's what I used. Here are the steps to recreate an insert like this one:
- Trace around existing insert to make a pattern
- Pin and cut your layers
- Pin layers together: stay dry on top then 4 layers of microfiber
- Serge edges
- Add a male snap (I used mismatched leftovers) to a tag or small piece of fabric
- Sew this with the snap facing outwards onto the microfiber side of the insert
- Snap in cover and use!
Here's a price comparison:
Butter suede bought as a remnant. Approximately $0.25 per insert
Microfiber bought as a dish towel . $1.30
Tag $0.25
Snap and thread. I used mismatched bits of snaps leftover from other projects. I'll just guesstimate around $0.20 for both.
That's $2.00 for a homemade insert versus $5.00 for a brand name one. They function exactly the same.


No comments:
Post a Comment