Okay, so here's the idea. I have a collection of old children's clothing that I purchased at a clearance sale, so many of them coordinate already. As I was selling last year's clothes at the local consignment sale, I kept a few other items that coordinated also. These clothes have already been worn by both of my girls and their first cousin. So they are by no means new, but they definitely still have life in them. I saw a skirt a while back that was decorated with ruffles from old clothes, and I have been wanting to try it ever since.
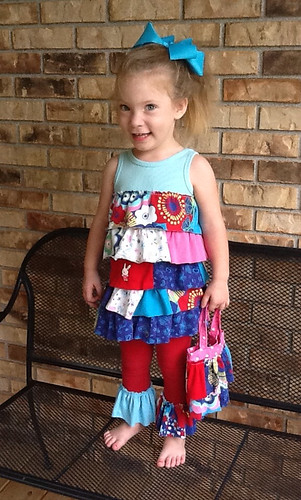
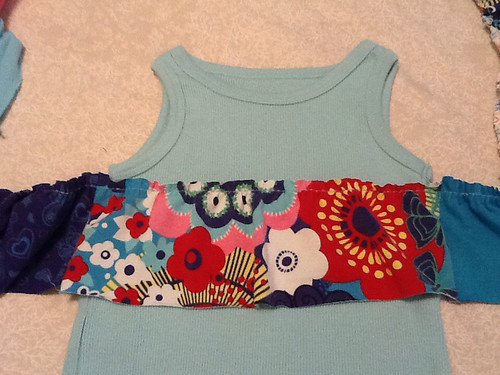
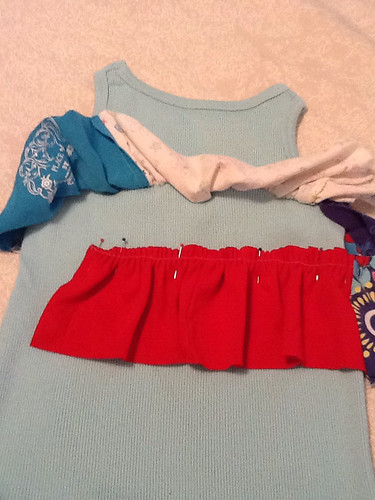
I also had this tank top on hand, so I'm going for a ruffled tunic top and maybe some Capri leggings underneath.
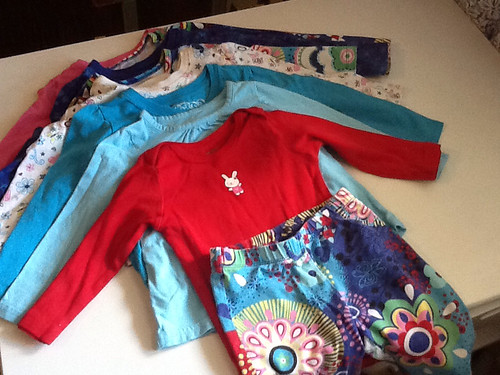
My Supplies8 long sleeve knit shirts sizes 12 months-4T
1 pair of knit pants size 18 months
1 tank top size 5
1 remnant piece of pink jersey knit that measures 11 inches wide by 60 inches-
I never used this piece. I don't know how far exactly this amount of upcycled fabric will get me, but I decide to wing it and see. I could do the math, but I figured I could have it half finished by the time I measure each shirt and determine how many ruffles I can get from each. In case you want to do the math for yourself, I usually measure the circumference for the area I want to apply ruffles, then I cut the length of my ruffle twice that long. That gives a nice full ruffle. 1 1/2 times will work also, it just depends how much fabric you have to work with.
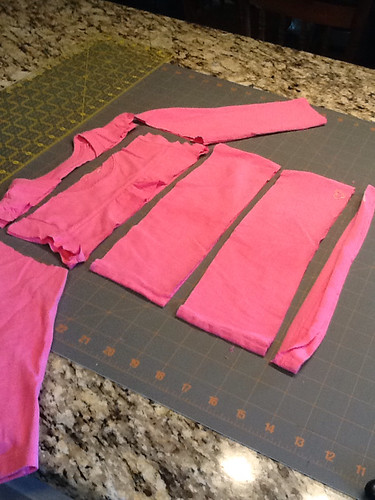
I decide that I will cut my fabric into strips of 3 1/2 inches. That way I will visibly see at least 2 1/2 inches of ruffle when I allow for a seam at the top of each strip to actually ruffle it and overlapping of each ruffle layer.
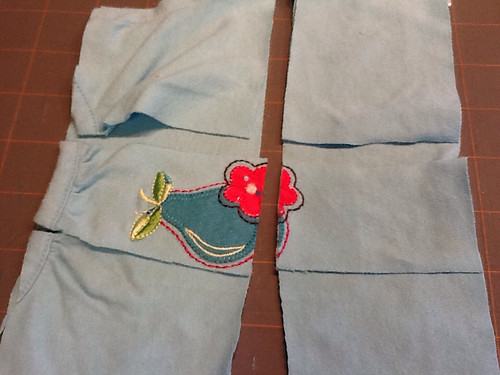
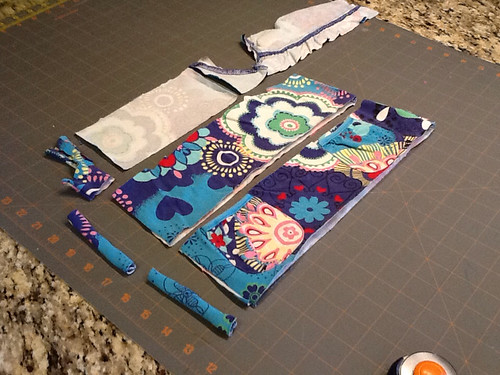
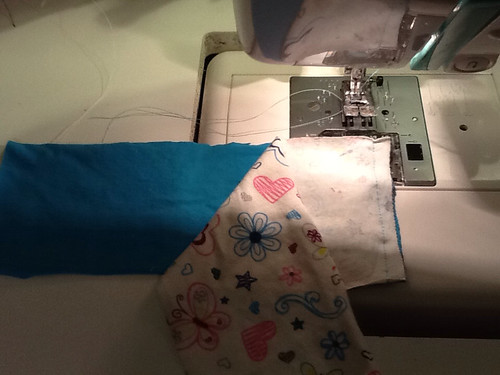
So, I pull out the mat and rotary cutter and get to stripping. I cut the bottom hem off and then measure up 3 1/2 inches and just cut as many as I can. If there is a design on the front of the shirt that I don't want, I just cut right through it and come back later to cut that part out of the strip.
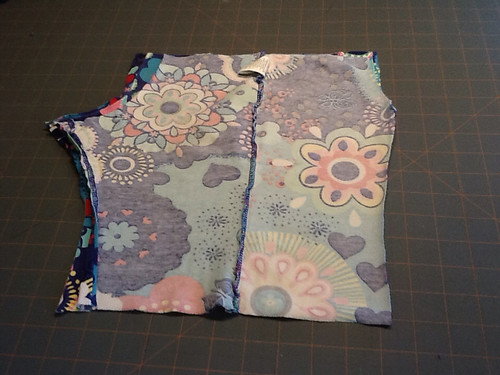
Cut one side seam off of each strip so you can open it up. Some pieces aren't usable, like the front side of this top strip because it has a seam through it. I just use what I can, even if it is only 4-5 inches.
I'm not worrying too much at this point how many pieces I'm getting, or how long they are.
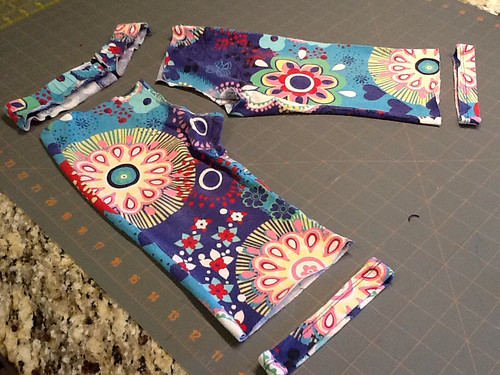
I also cut the sleeves off the shirt. Cut them open at the seam, and get a strip from each sleeve.
Same goes for the pair of pants.
I haven't cut up the remnant fabric yet, because I'm not sure if I'll need it for ruffles or to add length to the tank top. - should have had my model try it on for length before nap time.
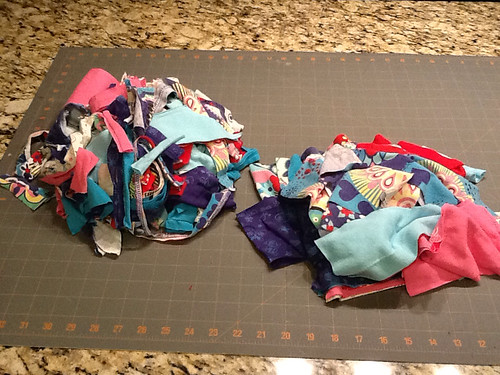
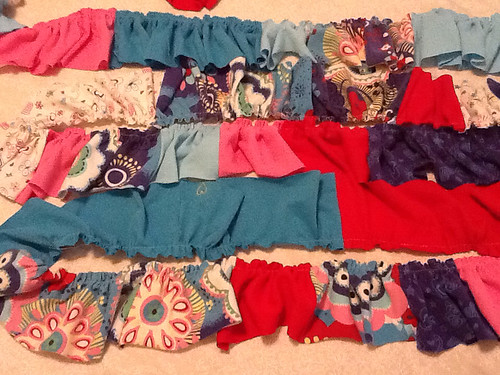
I now have 1 pile of scraps and 1 pile of strips.
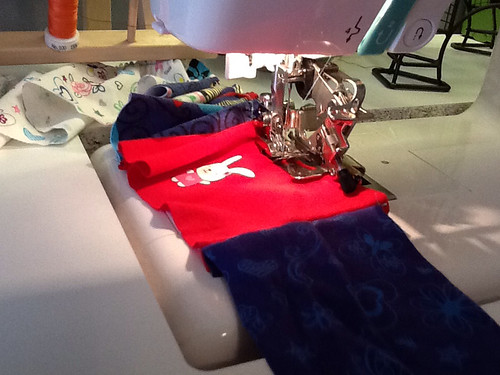
So i go about my business mixing up all the colors of strips and sewing the short ends together to make one LONG strip. I guess I'm going for the crazy look here, but you could also arrange the strips by colors or rainbow order or some pattern. I'd love to see what you come up with.
To sew the strips together, line up the short ends with right sides together. Use a 1/4 inch seam allowance and use chain stitching to get it done quickly. To chain stitch means to sew without stopping as you guide the strips under the foot without lifting it. Be aware that not all machines can do this. Now clip all of these apart and start chain stitching again until you have just one strip.
Now that I have a long strip (16 yards!), I run it through my machine with the ruffle foot on. This roughly gives me a strip 1/2 long as I had before (7 1/2 yards).
I pick out the section of the strip I want to be the center front, the rest of the ruffles I just let fall as they may.
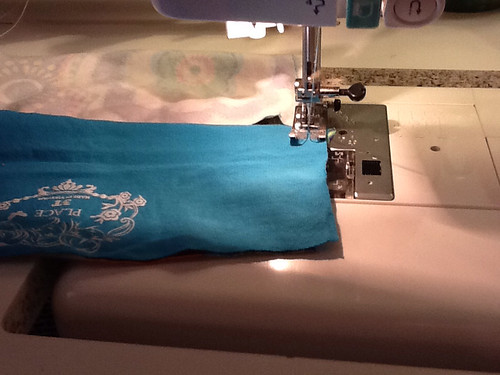
I pin this along the top edge of my tank top and sew it on with wrong side of ruffle to right side of tank. I just stitch right over my ruffling stitch. When I get all the way around i stop before meeting up with the other end of the ruffle, I leave enough ruffle to overlap the ends about 2 inches, I cut the rest off, and then continue stitching the ruffle down, back stitching at the end.
Do not cut the rest of the ruffle off until you stitch it down, the tank will stretch and you will need more ruffle than you think. To keep from having a visible spot on the tank that showed where I started and stopped, I start at a different place on each ruffle layer. (one side seam, the other side seam, the middle, almost to the middle, you get the idea).
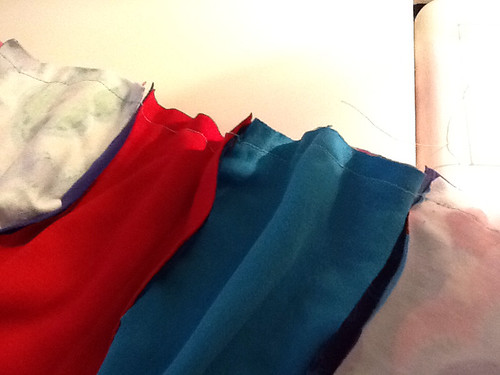
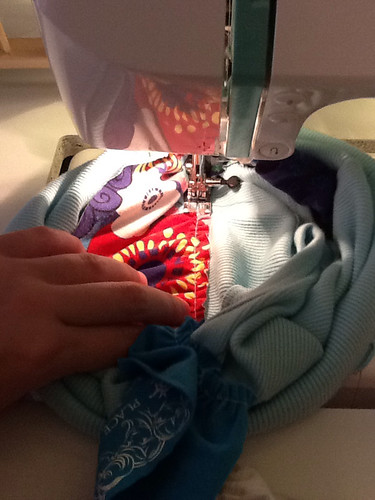
I lay out my tank that now has 1 ruffle layer on the top and flip up this ruffle to place the next underneath. Letting the top ruffle overlap about 1/2 to 3/4 inch. Then I pin this in place, and stitch it down like I did the one before it.
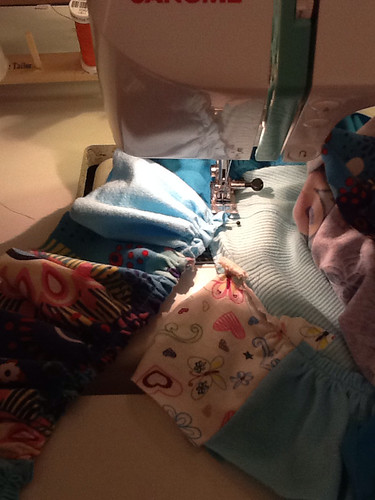
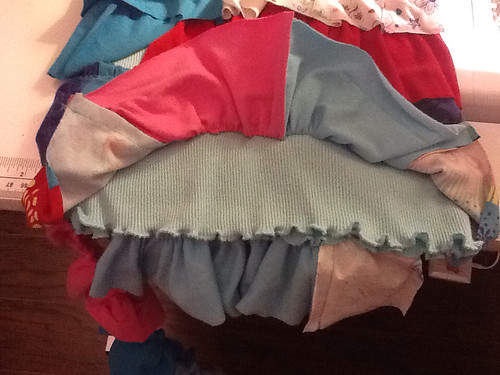
Before getting too much further, you want to lay out your ruffle layers to check that they will all fit nicely within the length of the tank top. If they don't then you can overlap the layers more to get them to fit and cover all the vertical space on the tank.I work my way down the tank, layer after layer. I sew the last layer just above the bottom edge. It's not pinned on yet in this picture.
Then I'm done. This is what it looks like on the inside.
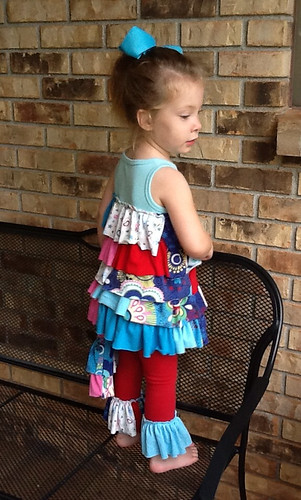
So cute. I love it!
I still have tons of ruffles left, so I round up an old pair of leggings and add some flair to them. Then the outfit needs an accessory, so I made a purse. I'll share a tutorial for that later.
I hope you enjoy this tutorial. Feel free to email or comment with questions and tutorial suggestions. Share your pics too.
Happy sewing!
Kate


No comments:
Post a Comment